
My last video covered the fact that I've been experimenting with lighting the Assault Carrier for X-Wing and my angst surrounding the fact that I am really outside of my comfort zone. I've had a lot of really good feedback but I also got a request for some photos of the project - which sounded like a great idea to me. If you want to really follow along, be sure to watch the video.

The inner workings of the Assault Carrier
When I decided on this project in my head I thought that this large model would have a ton of space to work with to do what I wanted to do. Once I opened it up the amount of available space wasn't exactly what I thought it would be. That's mostly because of the number of supports holding the thing together. Still, it should be more than enough to do the lighting that I want to do. There's certainly enough room for LEDs and fiber optic filaments. It's really only the power that is at issue.
In a perfect world I want this to be powered by rechargeable batteries that could be charged by plugging in something like a cellphone charger that plugs into the receptacle that's mounted on the model so you don't need to open it up. Bonus points awarded if the model could remain plugged in so that it could sit on a shelf while lit indefinitely. That's in a perfect world. I know that I could power it with large, watch-like batteries. That solves the space problem. It means that they won't be rechargeable and I can live with that. What I still need to determine is how long those batteries will last before needing to be replaced. If they last for an hour that seems less than ideal. This is something I can test, though.
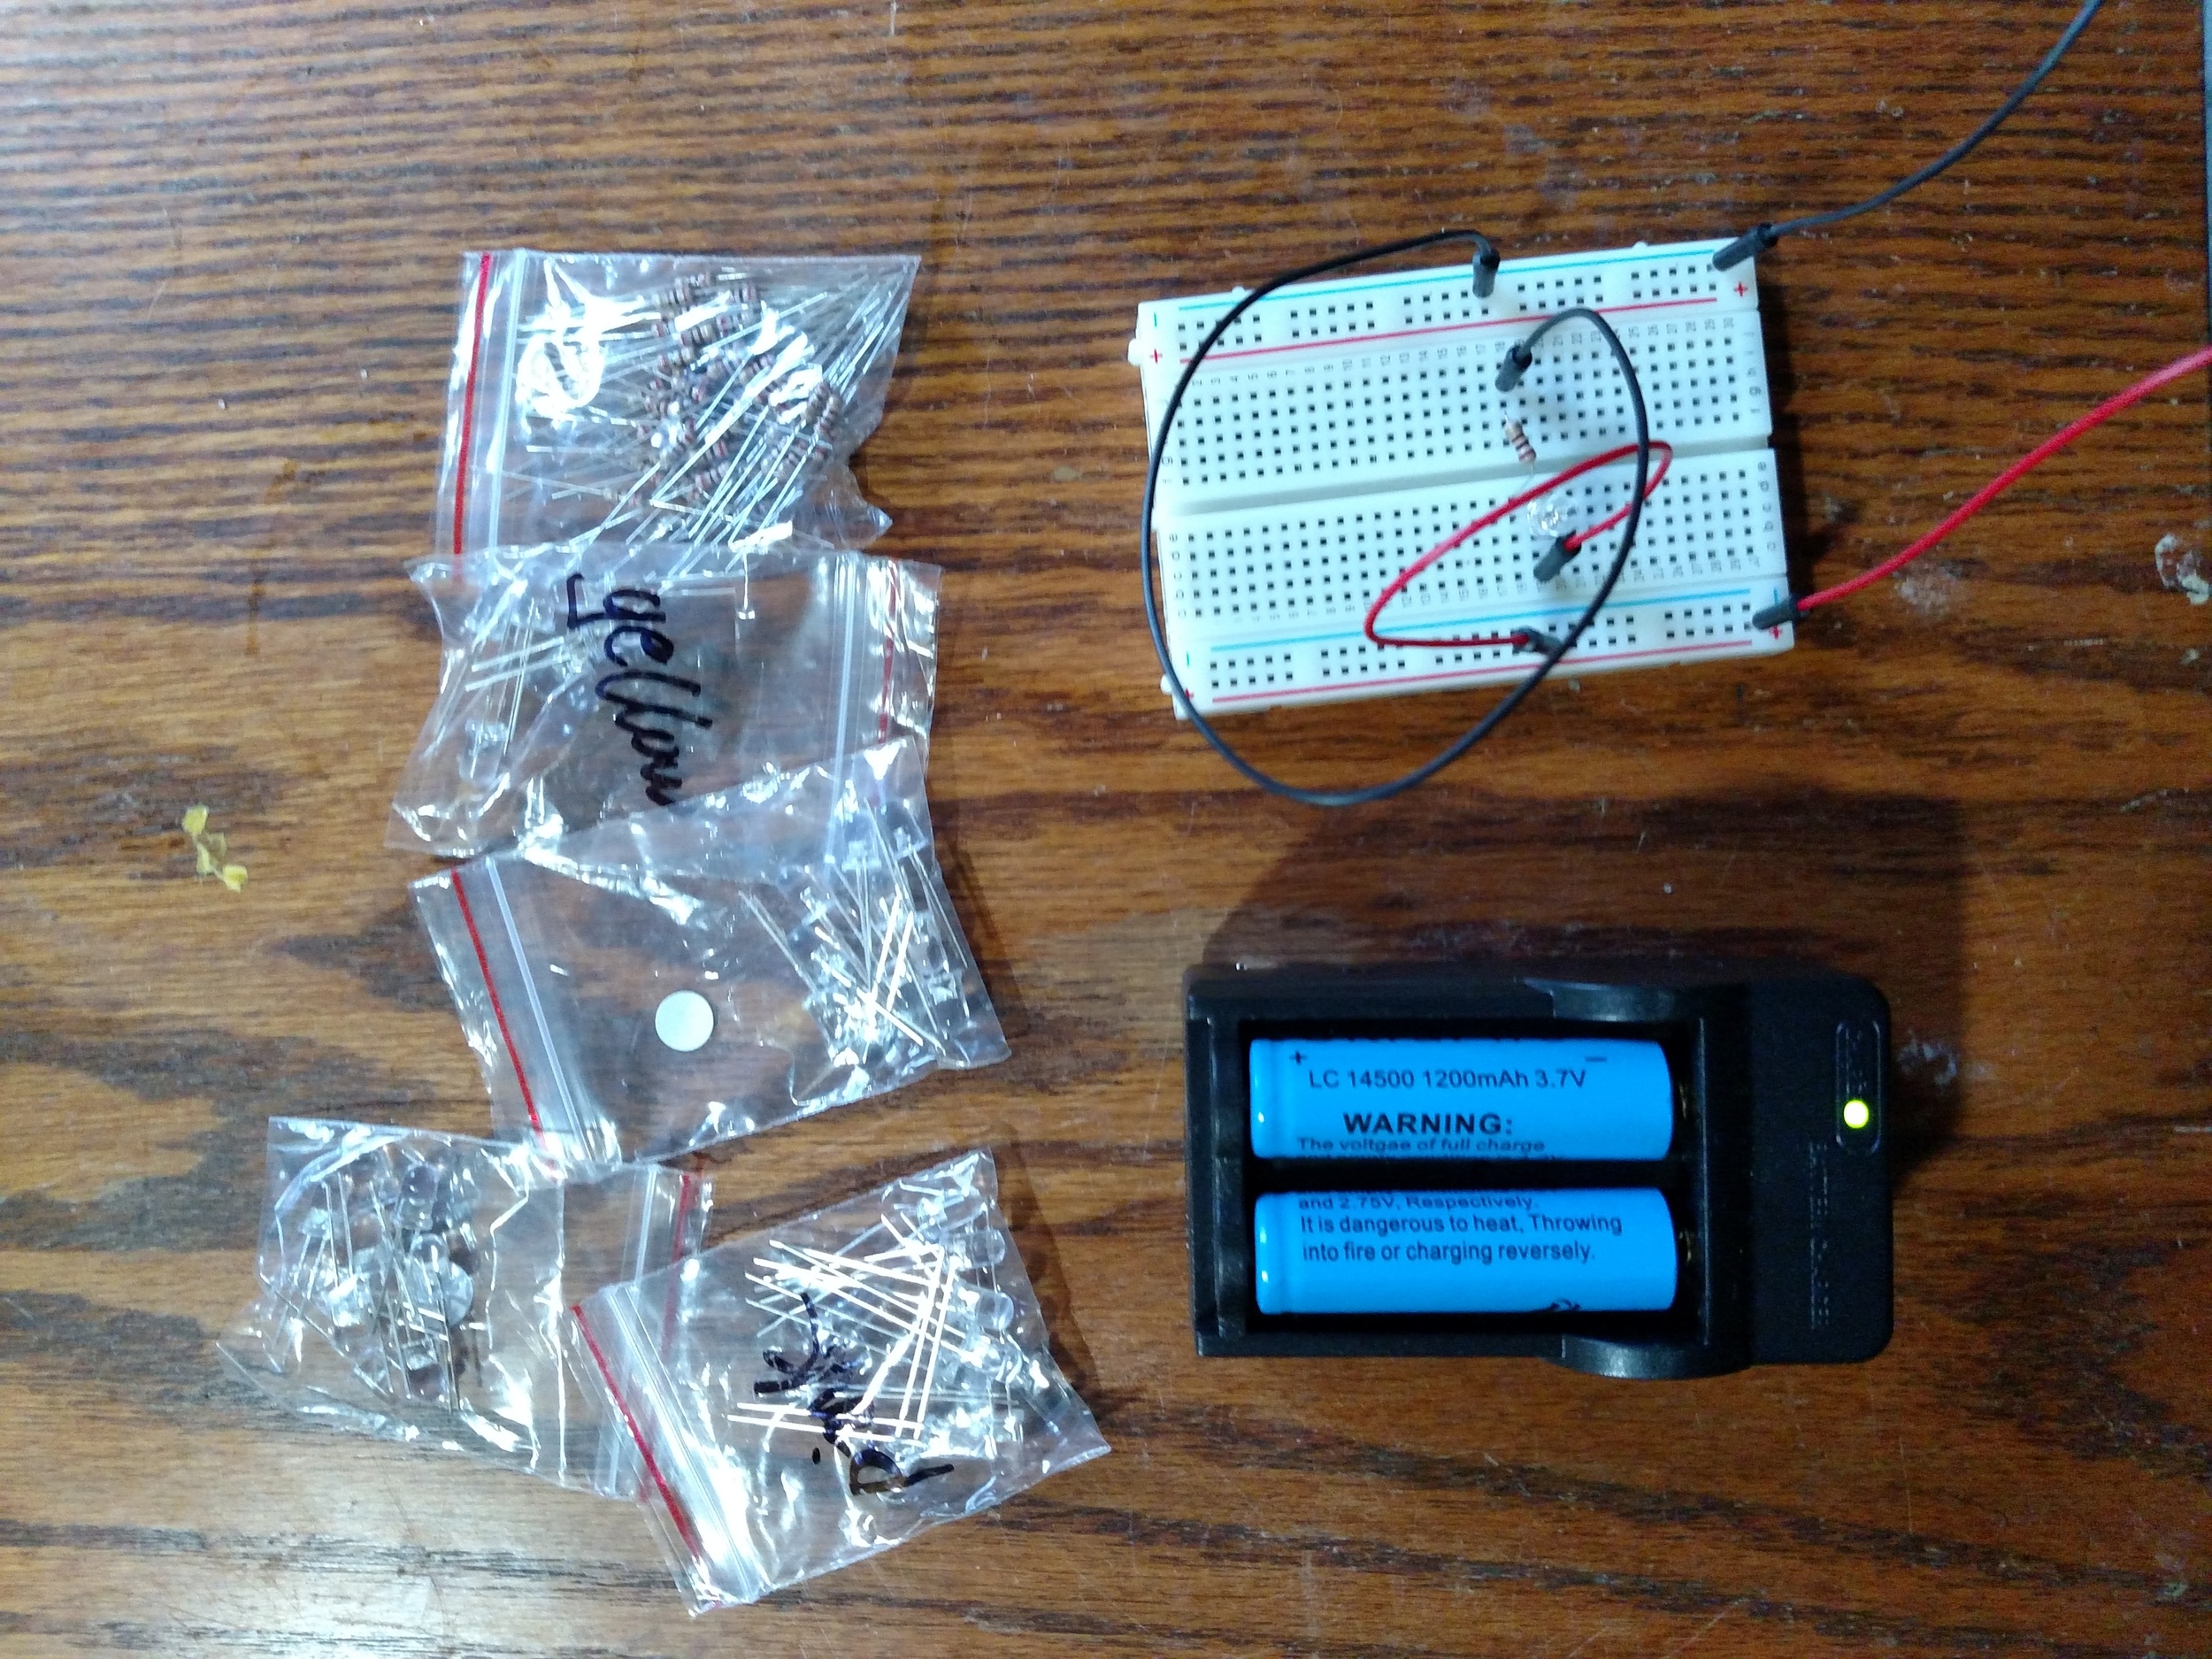
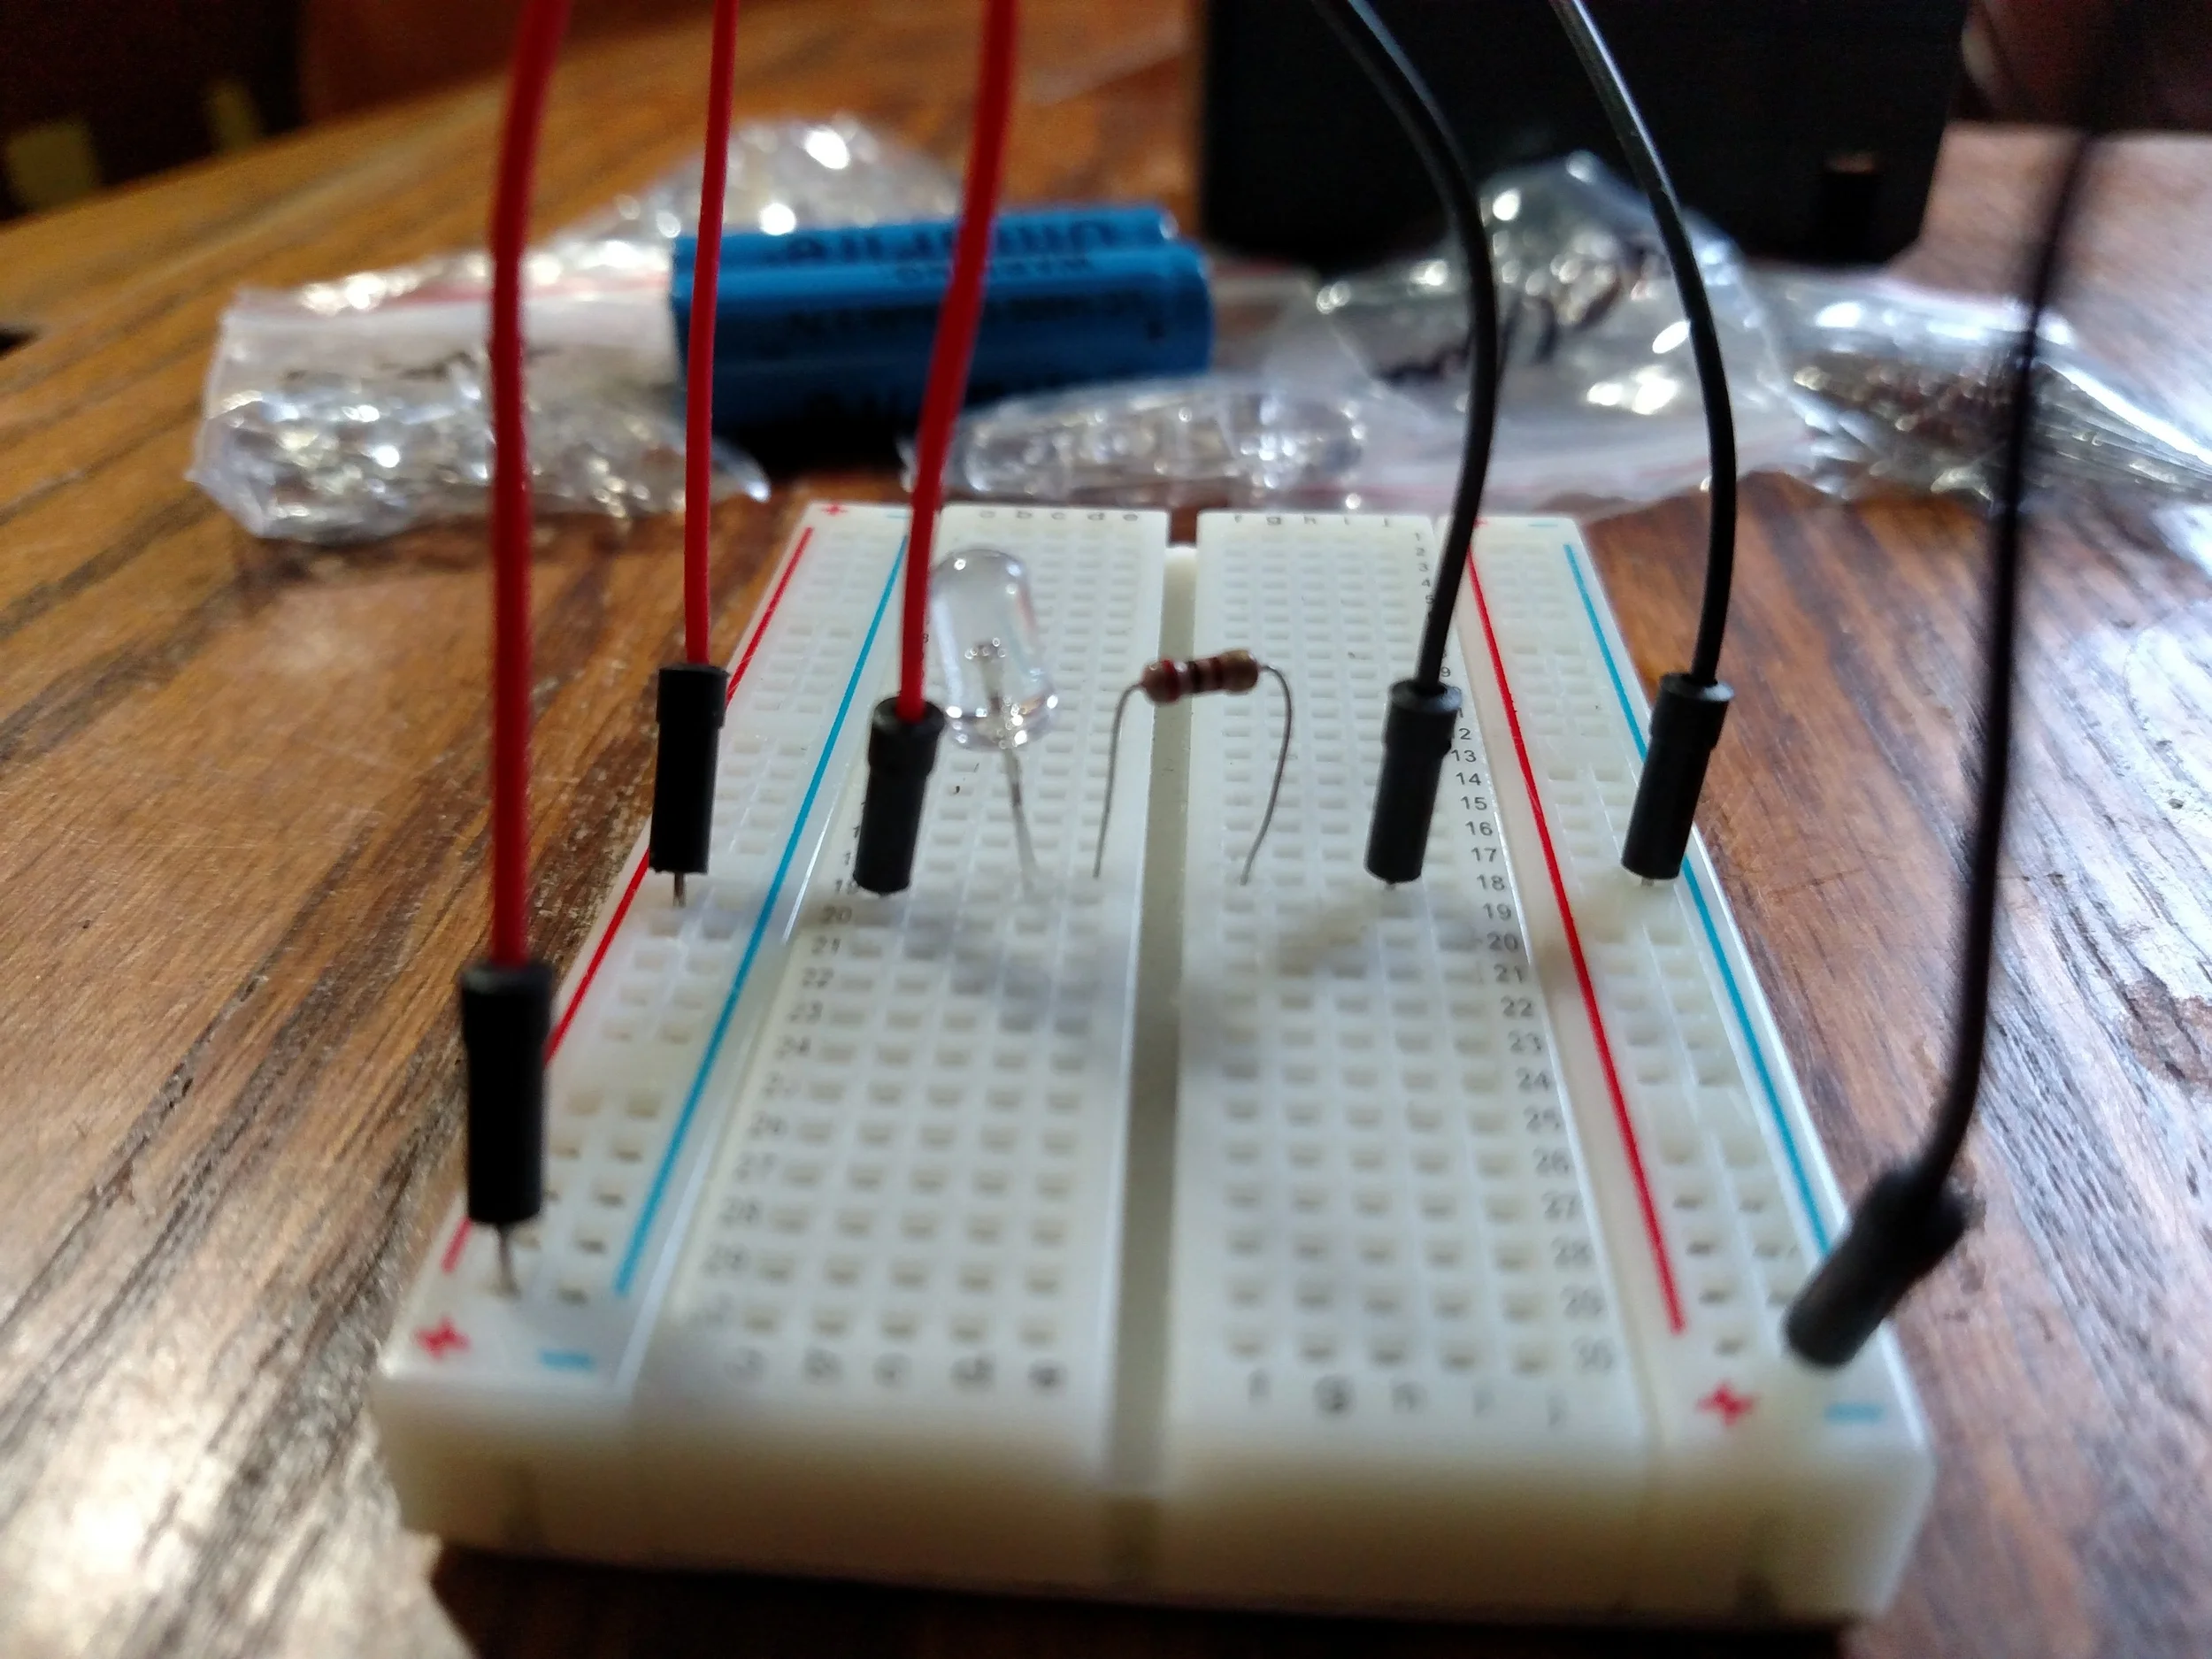
My current components.
So, I bought most of this stuff more than two years ago when I had determined that I wanted to try a lighting project. Then they sat in my shop doing nothing... At least they didn't cost much. Actually, that was a cool discovery, that you can grab the stuff to do this kind of project on the cheap. Take a look:
Of course, that's just the bare-bones. Enough to play around and prove to yourself that you can make light - like a god! I'm still going to need some switches, a different power supply (I already have a soldering iron) and.. I'm not sure what else.
That's really the big takeaway for me on this project. I mention it in the video but I think it's worth mentioning again. I don't know what I don't know and that's what makes this simple project so difficult for me to move forward with. Every decision has me questioning myself. It's tough. I imagine that anybody getting into miniature painting for the first time feels much the same way.
Baby steps...